

How to Clean Your Air Fryer in 5 Easy Steps
Air fryers make rustling up crispy, slimming-friendly dishes even easier, by speeding up cooking times and using little or no oil. There’s only one catch…they can be a teensy bit tricky to clean thoroughly!
This is mostly because air fryers come in lots of different shapes and sizes, with varying detachable parts, including trickier heating elements where you’ll want to be extra careful. There are lots of hints and tips online (some wackier and less safe than others), so we’ve broken things down into 5 simple steps.
Pinch of Nom: Air Fryer: Light & Easy is here!
Fry-lovers, rejoice! Our brand new Air Fryer Light & Easy cookbook has FRY-NALLY arrived. 75 recipes that are all low-calorie and air fryer-approved.
Your copy is waiting for you. Grab it here or click the banner below.

If you have any questions related to cleaning or cooking in your air fryer, you can always email our recipe team ([email protected]) or drop your question in our friendly Facebook group!
Before you read on, we’d strongly advise referring to your air fryer’s instruction manual, to double-check for any specific cleaning or safety instructions.
This post contains affiliate links. Find out what this means.
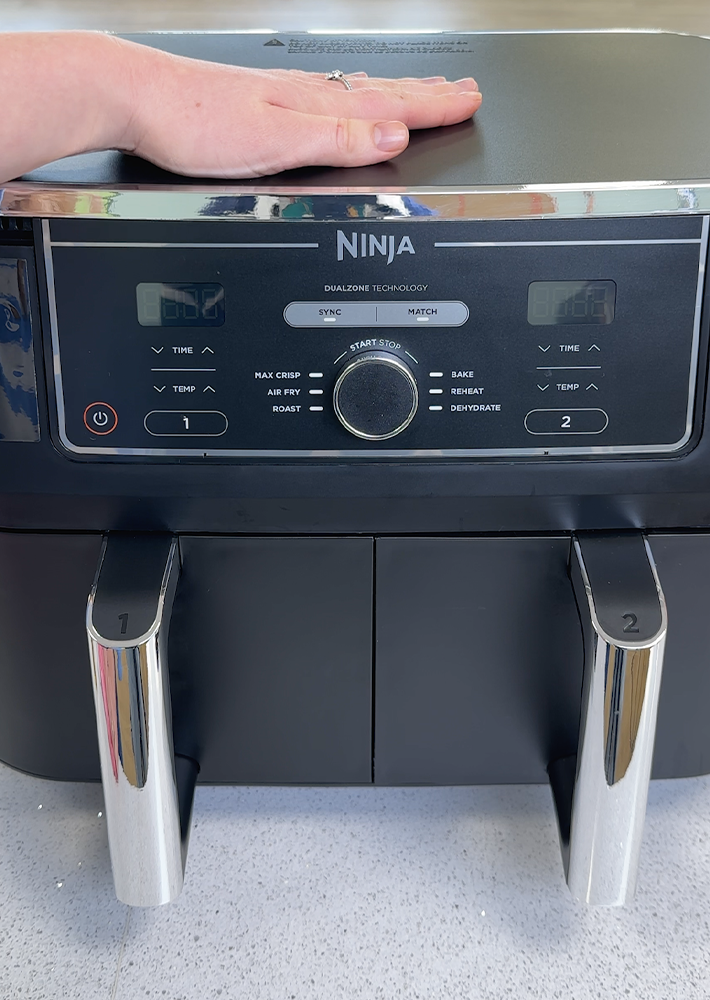
Step 1: Get to know your air fryer
First things first, before you clean your air fryer, you’ll want to take a look through the instruction manual for any specific cleaning instructions or safety guidelines – especially when it comes to the heating elements. Every air fryer differs slightly, in that some have drawers, some have detachable baskets and some even look similar to ovens!
Even though air fryers use little to no oil while you’re cooking (making them ideal for recreating deep-fried textures without a deep-fat fryer), it’s still inevitable that you’ll get a build-up of grease.
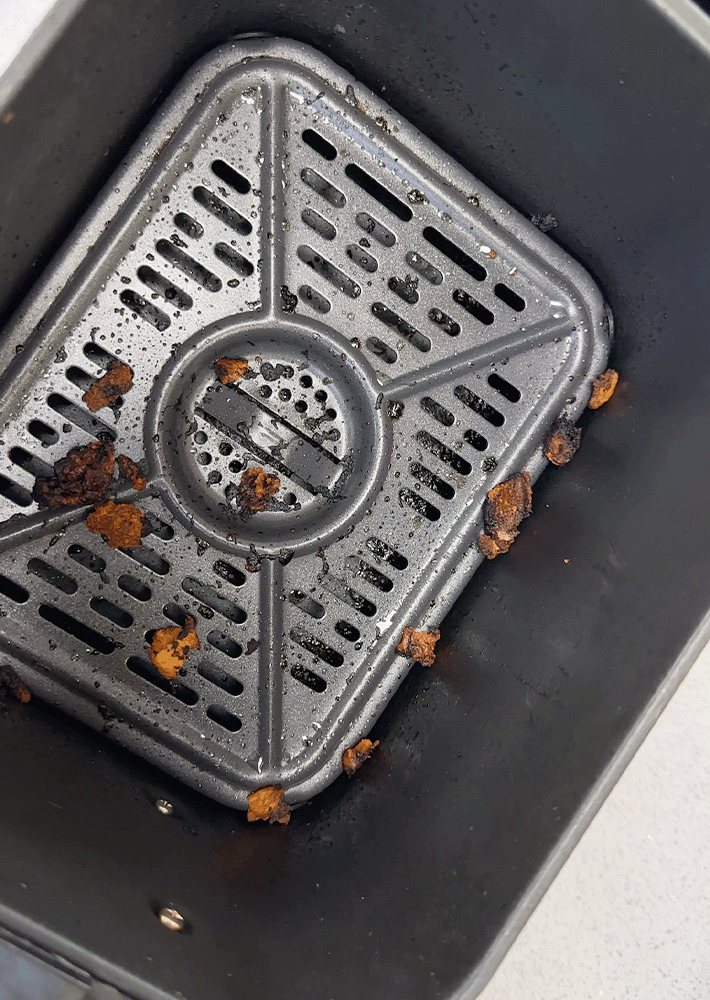
You’ll want to make sure you’re cleaning your air fryer thoroughly after each use, so that it’s always safe to use. Oily residue or burnt-on bits of food are a fire hazard, so please be extra careful when you’re on the lookout for grime!
Our video on How to Clean Your Air Fryer gives you a cracking idea of what to expect from doing a thorough clean-up for the first time (watch it on Facebook here, or on TikTok here). Just look at the state of the sink water after we give our basket a rinse:
View this post on Instagram
Step 2: Gather your cleaning supplies
Aside from good old-fashioned elbow grease, there are a few things you’ll need to help keep your air fryer looking as good as new.
There’s no doubt that non-abrasive brushes and sponges are an air fryer’s best friend. You can scrub and scrub without having to worry about degrading or losing the all-important non-stick coating in your baskets or drawers.

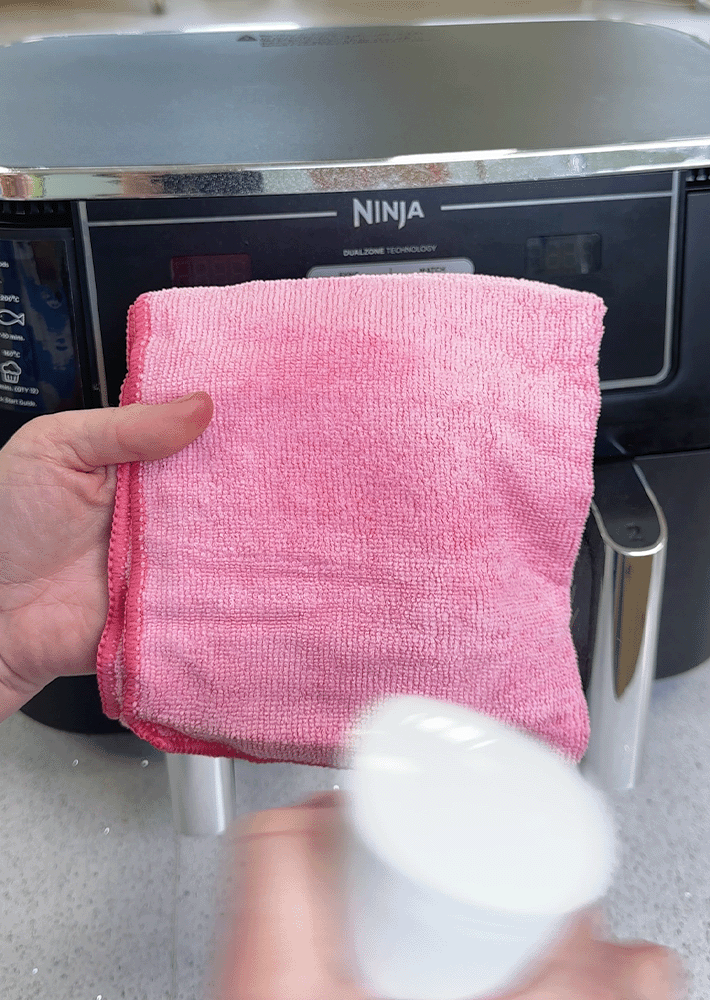
If your air fryer has pride of place on your kitchen countertop, microfibre cloths will help to keep the exterior spick and span. Add a spritz of all-purpose cleaner to the cloth before you wipe it down, rather than spraying the air fryer itself.
We always go for an eco all-purpose cleaner to avoid any nasty chemicals.

Baking soda and water is a longstanding, tried-and-tested combination that’s effective for tackling all kinds of stains and smells, from dirty dishwashers to grimy ovens.
Combine half a cup of baking soda with a few tablespoons of water to make a paste that’s ideal for lifting really tough, baked-on bits of food from just about anywhere on your air fryer!
We’ll talk you through using it in the next section.

Step 3: Soak the baskets, pans or drawers
You should ALWAYS give your air fryer and its parts plenty of time to cool down after cooking. Bear in mind it can take at least half an hour for your air fryer to be at a safe temperature for cleaning, so don’t be tempted to rush the process!
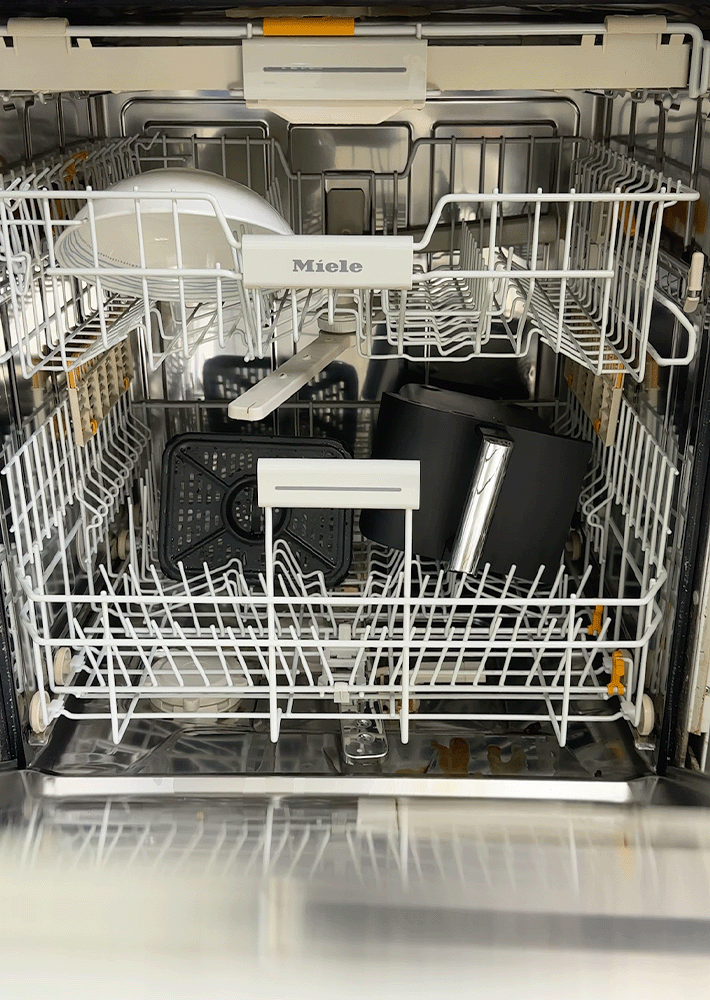
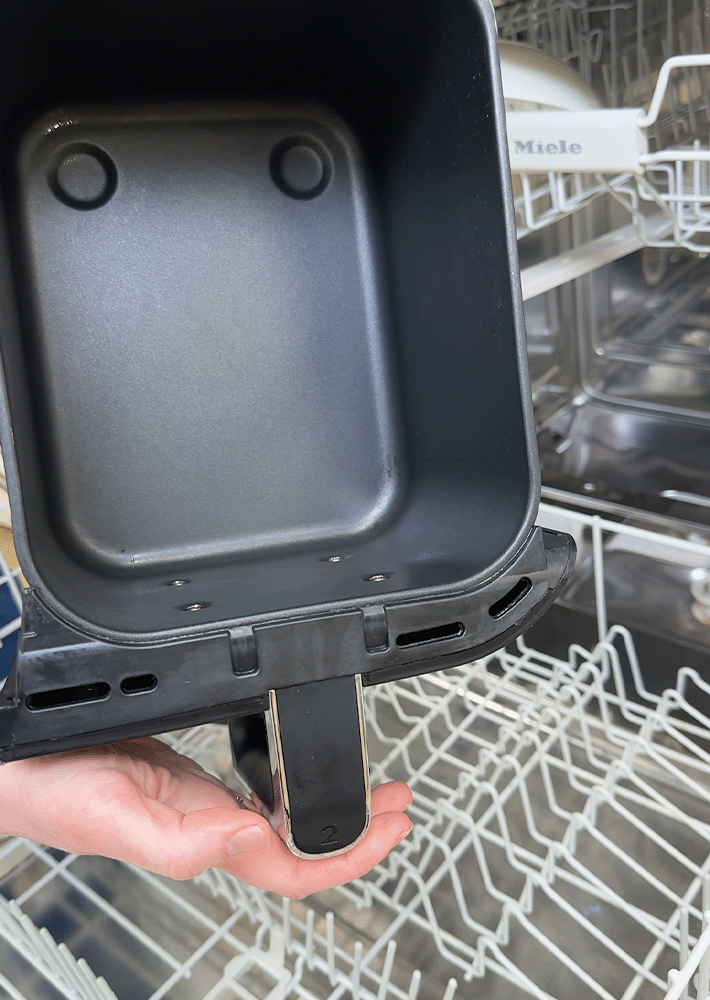
When everything’s cooled, leave any parts that are okay to submerge to soak in the sink. You can also pop them in the dishwasher, as long as the parts are dishwasher suitable – always refer to your instruction manual if you’re unsure.
Afterwards, a good rinse and a gentle scrub should be enough to leave your baskets, pans, cooking pots, drawers or paddles sparkling!

If you come up against really stubborn bits of grime that just won’t budge, don’t be tempted to chip away at them with abrasive tools or metal utensils. As annoying as stuck-on crumbs can be, it’s not worth damaging the non-stick coating.
Remember the baking soda paste we made earlier? Now’s your cue to lather it onto the tricky areas. You can leave it to work its magic, or scrub lightly with an old toothbrush for quicker results.
Step 4: Scrub your accessories
If you’ve watched our How to Clean Your Air Fryer video, you’ll already know we like to cut down on cleaning time by using silicone air fryer liners. They’re removable, reusable and far more convenient to clean than air-frying trays and baskets.
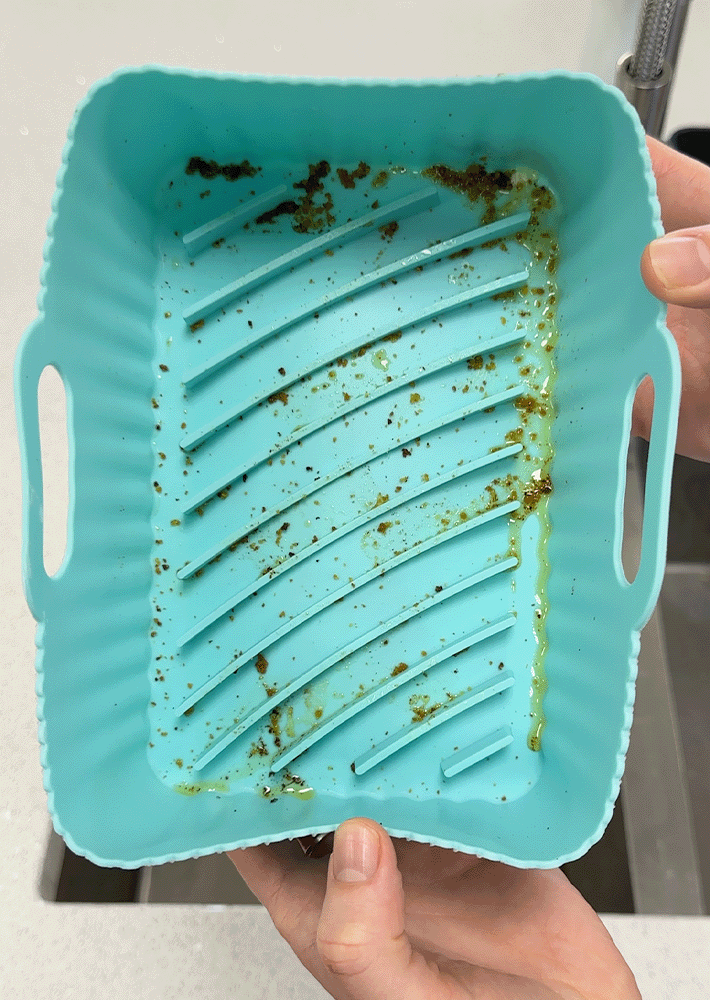
The size you need will vary between air fryers, so make sure to check the measurements before you order. You can also buy disposable ones, for when you’re not in the mood to scrub!
A lot of silicone liners and other accessories are dishwasher safe (like the ones below), but we tend to hand-wash ours, since it’s so quick and easy!

Air-frying simply isn’t the same without a trusty pair of tongs to help you turn and remove food easily and safely. Silicone ones are great because they don’t scratch surfaces, and they’ll usually go in your dishwasher without an issue.
To remove oily residue, soak your tongs (and any other silicone cooking utensils) in a jug of boiling water before you hand-wash them or put them in the dishwasher. When you see the oil separate and float to the top, you’ll be glad of that first step!

You can normally trust soapy, warm water to get the job done when it comes to additional cooking accessories, like skewer racks, grill racks or bakeware. If you’re struggling with stubborn dirt even after a good soak, you know it’s time to crack out the baking soda!
Step 5: Clean the air fryer interior
This one might seem obvious, but we’ll say it anyway…make sure you’ve unplugged your air fryer before you start cleaning any part of your air fryer’s interior, especially the heating element!
As your air fryer main unit will have electrical parts, it should never be submerged in water, which is why it can be a bit more fiddly to clean.
Luckily, unlike baskets and trays, you don’t need to clean the heating element every single time you cook with your air fryer – although you’ll save yourself a lot of effort if you carefully wipe the coils down with a damp cloth between uses, once they’re cooled!
If you’re unsure on where your heating element is, it’s normally at the top of the inner main unit (always check your instruction manual if you’re not sure which part is which).
Use a tiny bit of warm water and washing-up liquid to dampen a sponge or cloth, and give the heating element a very gentle wipe, making sure that you don’t leave behind any any soap residue (you want the coils to dry thoroughly afterwards!). Keep the pressure nice and light, to avoid damaging the surface of the coils.
The rest of your air fryer interior should be fine to wipe gently with a soft cloth and some all-purpose cleaner. Just like with the outside of your air fryer, you’ll want to spray the solution directly onto the cloth, rather than into the unit itself.
When you’re happy that everything is clean, leave your air fryer and all of the parts to dry thoroughly. It’s very important that everything is bone dry before your air fryer is reassembled!
Are you ready to clean your air fryer in 5 easy steps?
If you follow our hints and tips above, don’t forget to share a photo of your sparkling-like-new air fryer in our Facebook group. We have a welcoming community of almost 1 million members just waiting to swap their air fryer stories and recipes with you!
Plus, don’t forget to upload any photos you’ve taken of your crispy creations to our PON gallery – you might even win some SWAG.
If you liked this article, here are a few more that you might find useful: