

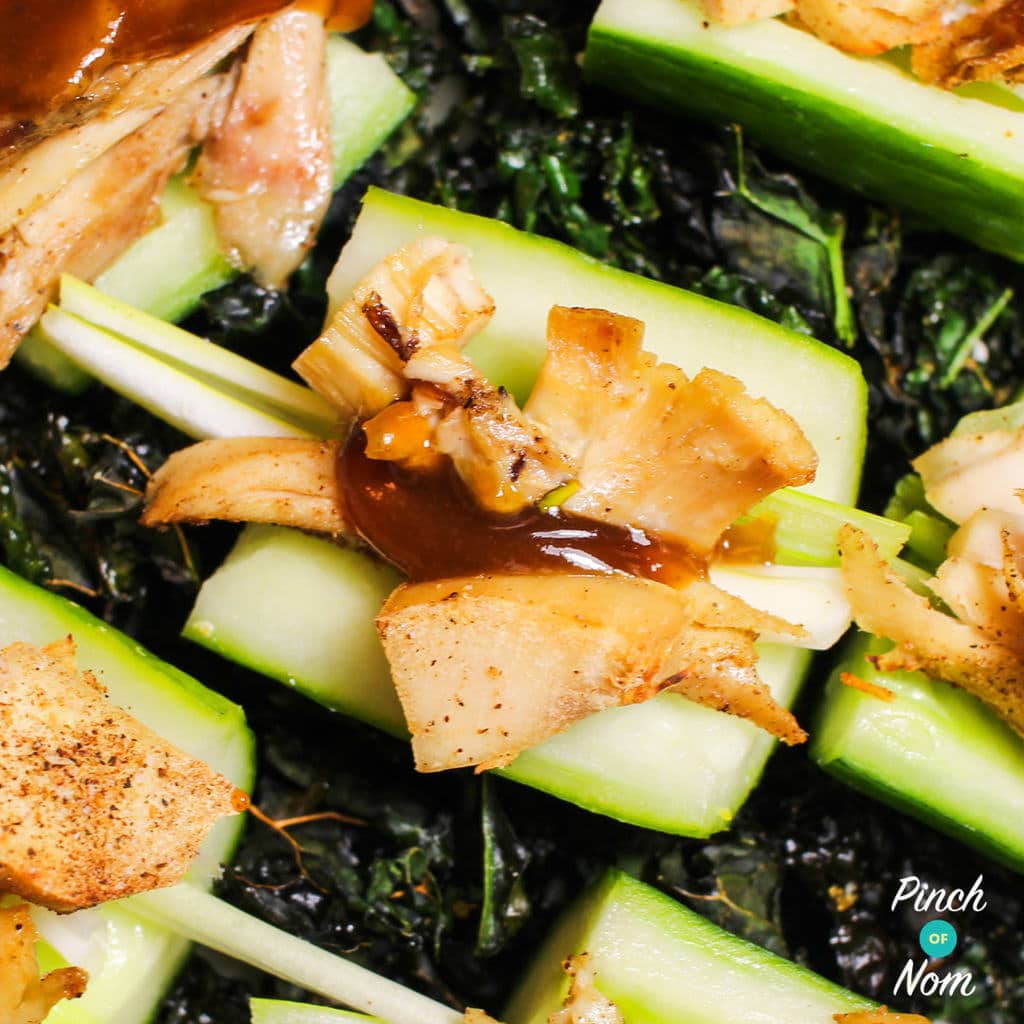
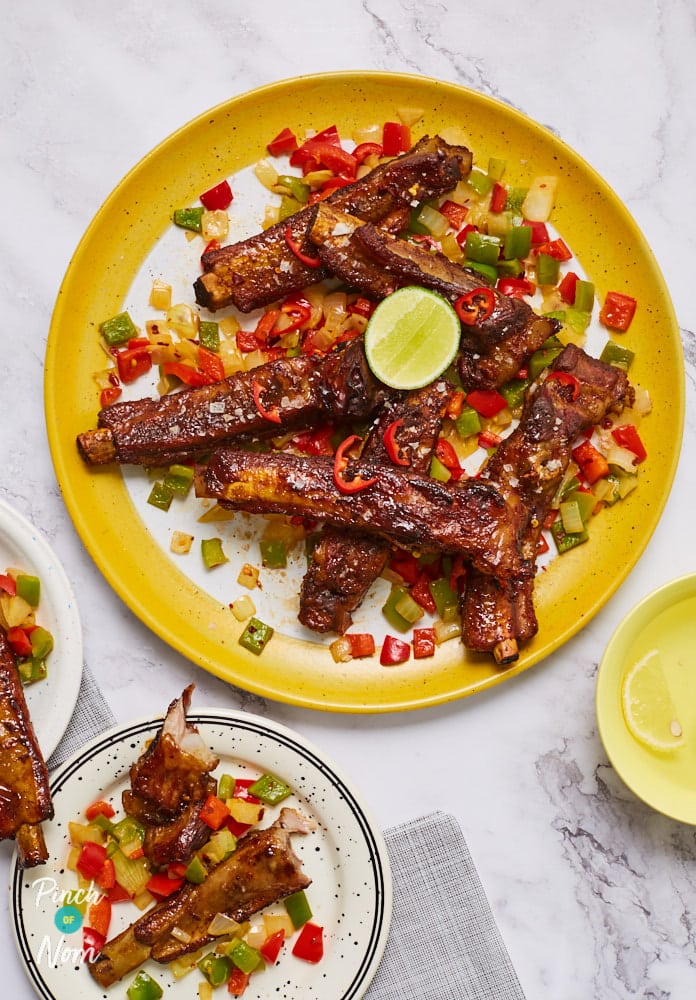
Crispy Duck
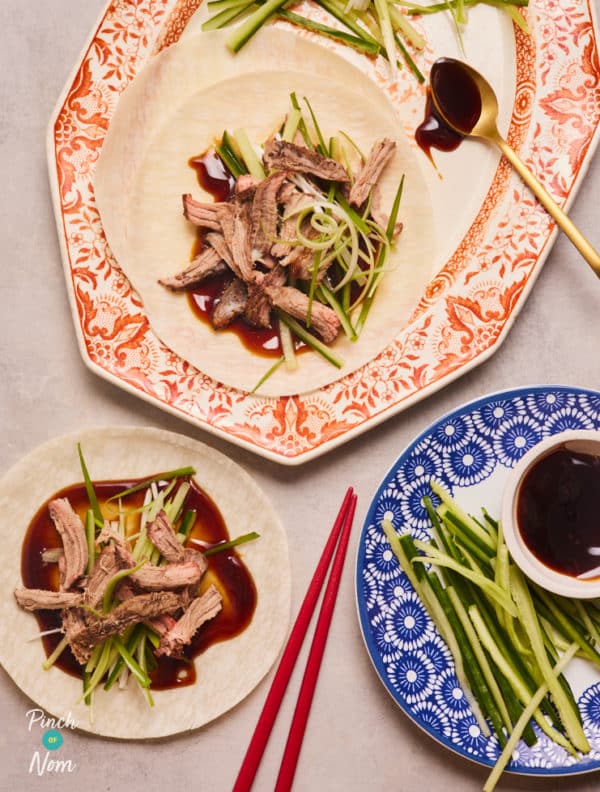
There’s no better start to a Chinese-inspired fakeaway night than Crispy Duck pancakes! Far quicker and easier to make than you’d think, we’ve kept our version simple yet full of flavour. After just half an hour in the oven, your duck will be fall-off-the-fork shreddable and ready to roll into takeaway-style pancakes with a splash of hoisin sauce.
Also in these categories:


NutritionPer Serving
- Calories177
- Carbs9.1g
- Protein5.7g
- Fat13g
- Saturates3.6g
- Sugars2.3g
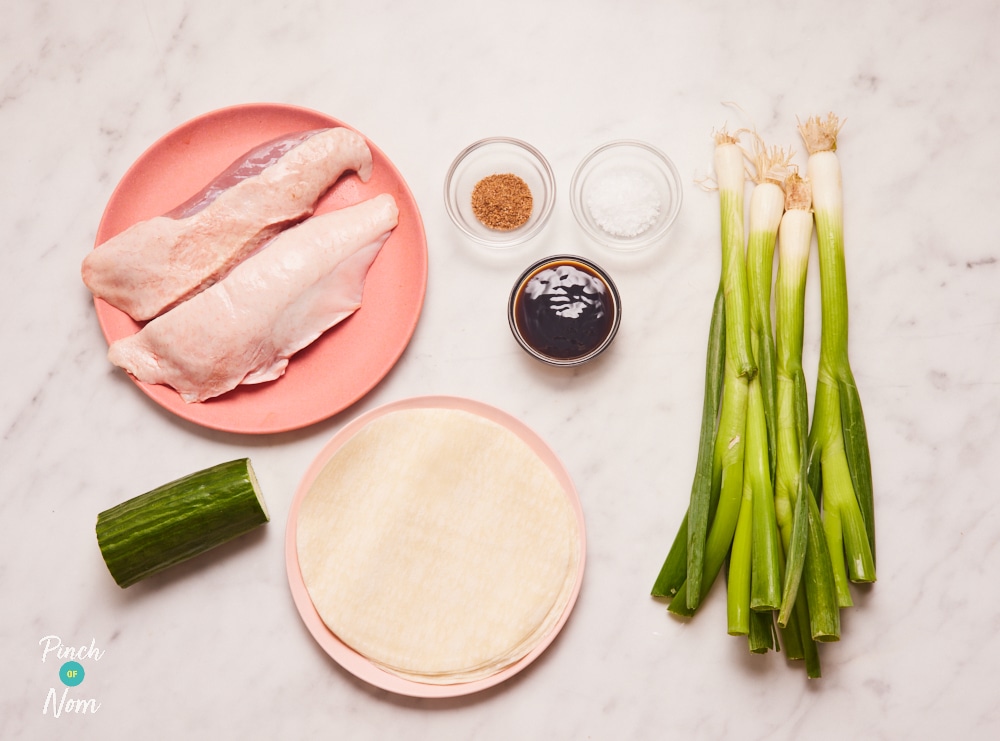
For the full list of ingredients and comprehensive instructions, please see the recipe card below. Before you scroll, there’s important stuff in the blurb!
You’re going to love making your own Crispy Duck at home! You might think it’s easier to nip to the Chinese takeaway, especially if you’ve only seen the recipes that take hours to make. The beauty of our version is that it uses a short list of easy-to-find ingredients, and only takes half an hour to cook.
To get the duck just as crispy as a takeaway version, fat is your best friend! Leave the skin on your duck breasts to get really crispy, building up that lovely flavour and texture that works so well when it’s rolled into the soft, floury pancakes.
Duck is a fatty meat by nature, and if you wanted to make a lower-calorie version of this recipe, you could remove the skin before cooking – just bear in mind that this will mean your duck won’t be crispy (even though it’ll still taste delicious). Scroll down to read the tip we’ve added after the recipe card at the bottom of this page for full instructions on how to make our recipe without the skin and fat.
We reckon this Crispy Duck makes a fantastic starter or side dish for your next Chinese-inspired fakeaway night. We’d love for you to share photos in our Gallery if you give it a try!
What diets is this Crispy Duck suitable for?
Crispy Duck can be enjoyed on dairy-free diets.
If you’re cooking for people with allergies, be extra careful when checking ingredients and preparing food!
Do you need any special ingredients to make Crispy Duck?
Absolutely not! We’ve made sure this recipe is nice and simple, using easy-to-find ingredients.
Send us a Hint or Tip
We love hearing from you, submit any tips or tricks you have for this dish and we’ll review them and add some of them here. Just click here.
SEND US a HINT & TIP, Or QUOTE for this recipe
THANKS
we have your picture
The process
- Check
Now we have your Hint & tip
we’ll check them over. - Review We’ll review your Hint & Tip, and see if its suitable to use on the website.
Your details
- Name: %name%
- Recipe: %recipeName%
YOUR HINTS & TIPS
Your “QUOTE”
SWAG!
Due to the large number of submissions we recieve we’re afraid we’ll only inform you if we use it on the Recipe page - then we’ll send you some swag…
(Please remember others may of had the same idea as you!)
How many calories are in this Crispy Duck?
There are 177 calories per portion in this Crispy Duck, which means it falls into our Everyday Light category.
To cut down the amount of calories even more, you could remove the skin and fat from the meat (but this will mean it won’t get crispy). Removing the skin and fat will reduce the calories to 93 per serving.
This Crispy Duck is perfect if you’re following a calorie controlled diet, and fits well with any one of the major diet plans such as Weight Watchers.
As a guide, an average man needs around 2,500kcal (10,500kJ) a day to maintain a healthy body weight. For an average woman, that figure is around 2,000kcal (8,400kJ) a day. Obviously, if your goal is to lose weight then you might want to adjust these slightly! You can read more about these recommendations on the NHS website.
Step 1
Preheat the oven to 200°C.
Step 2
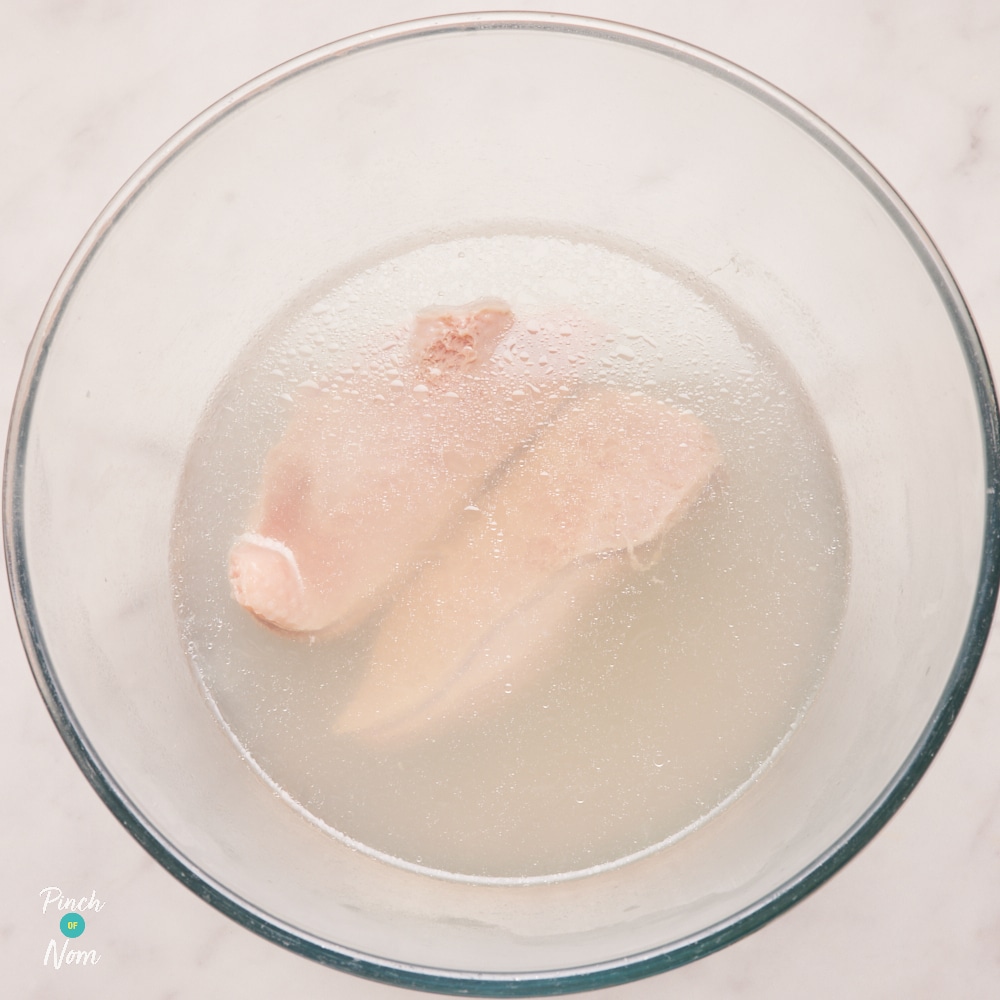
Place the duck breasts in a medium heatproof bowl and cover with boiling water. Leave to stand for about 3 minutes. This will release some of the fat from under the skin and will help to make it crispy when cooked. Remove the duck breasts from the bowl using a large, slotted spoon and place them on a chopping board. Discard the water in the bowl.
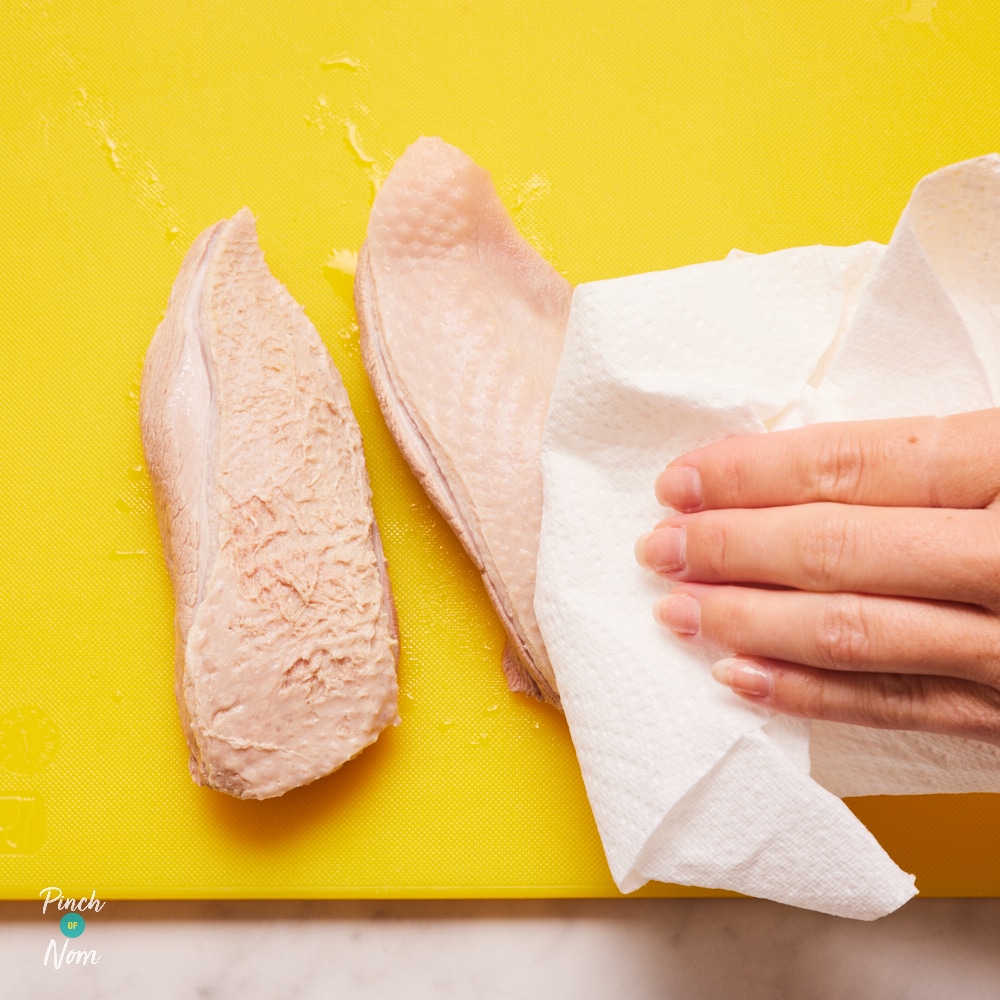
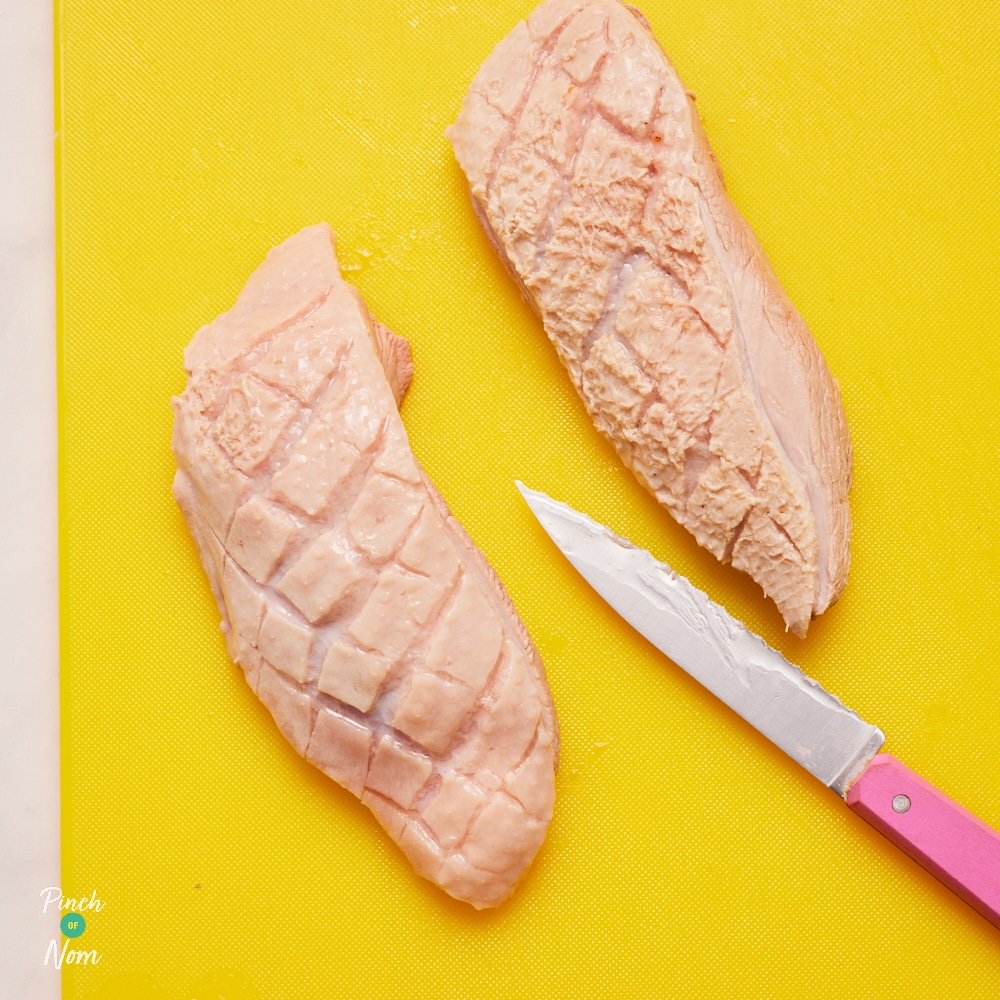
Step 3
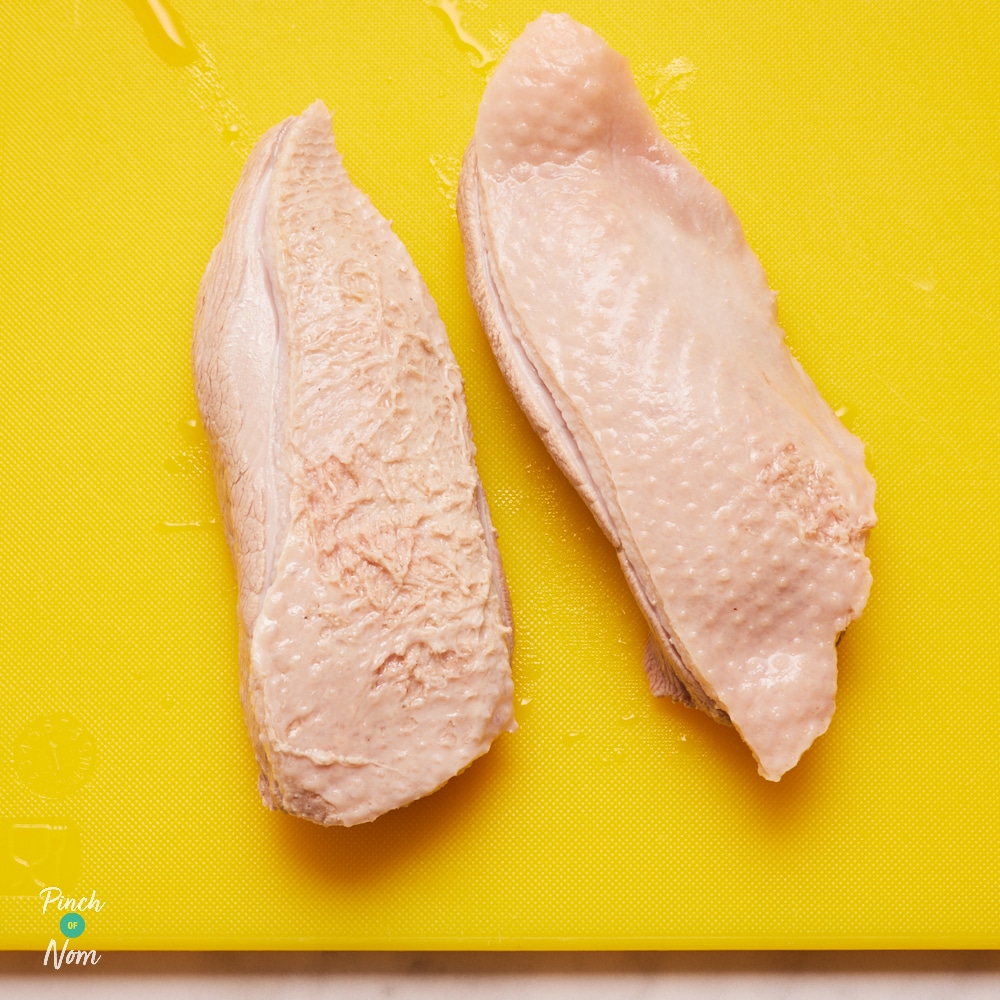
Use kitchen paper to pat the duck breasts all over to dry them as much as possible. Using a sharp knife, make cuts diagonally through the skin and fat, but not into the meat. Make the cuts as close together as you can. Repeat to make another set of cuts at right angles to the first set. The duck breasts should now have criss-crossed cuts all over the skin.
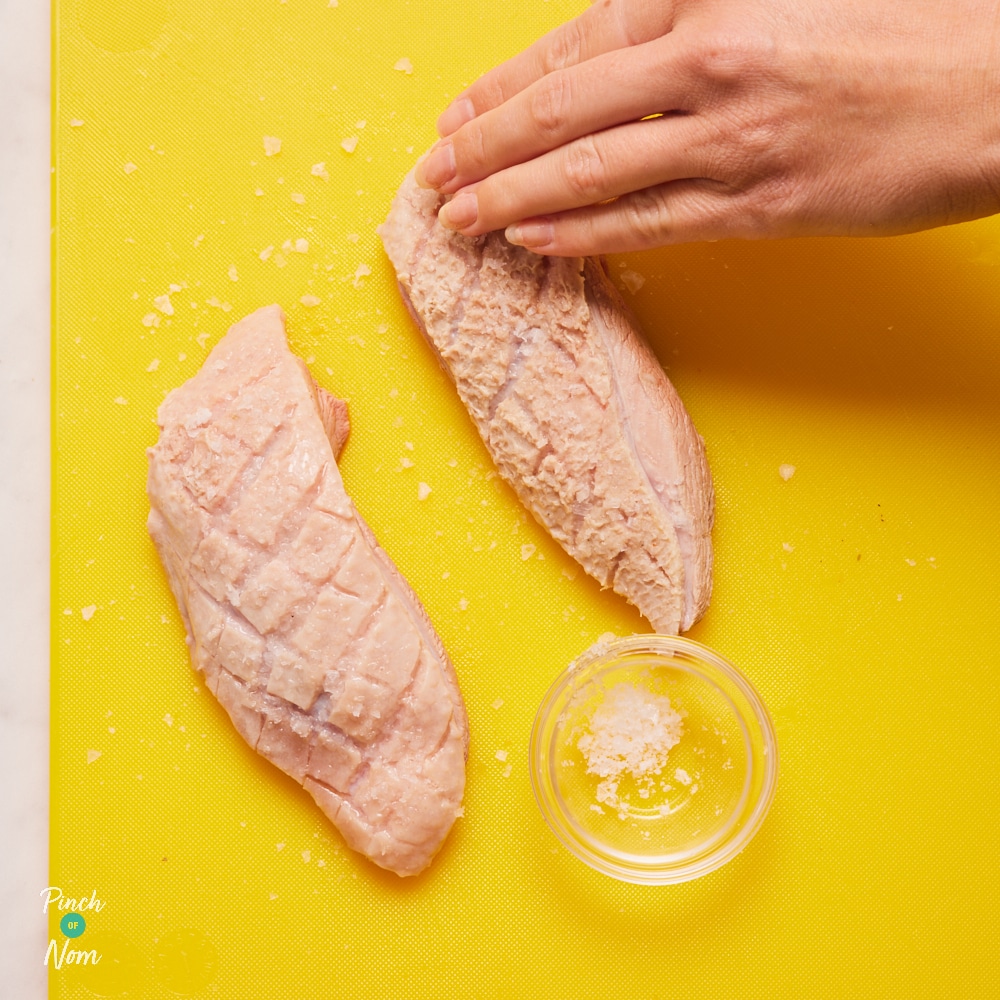
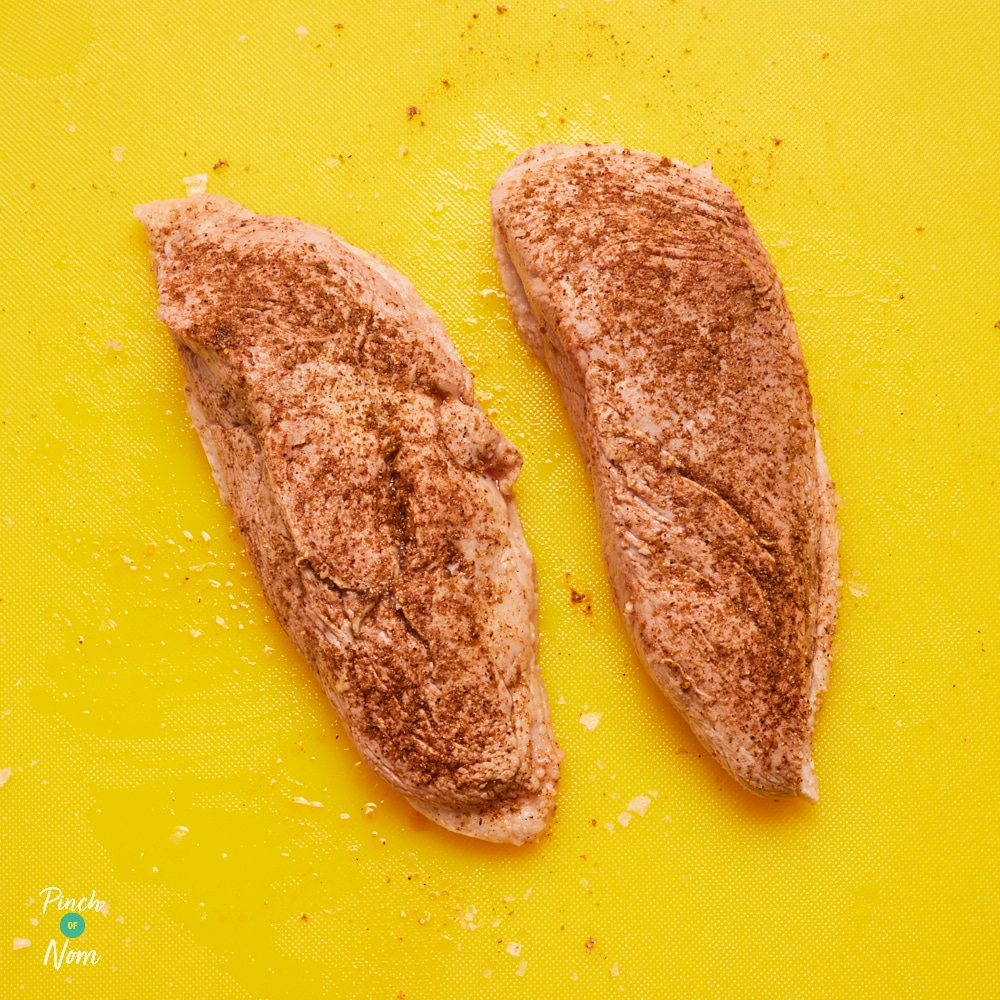
Step 4
Sprinkle the salt over the skin and rub into the cuts. This will help release the fat from under the skin when cooking. Turn the duck breasts over, sprinkle the meat with Chinese five-spice powder and rub over.
Step 5
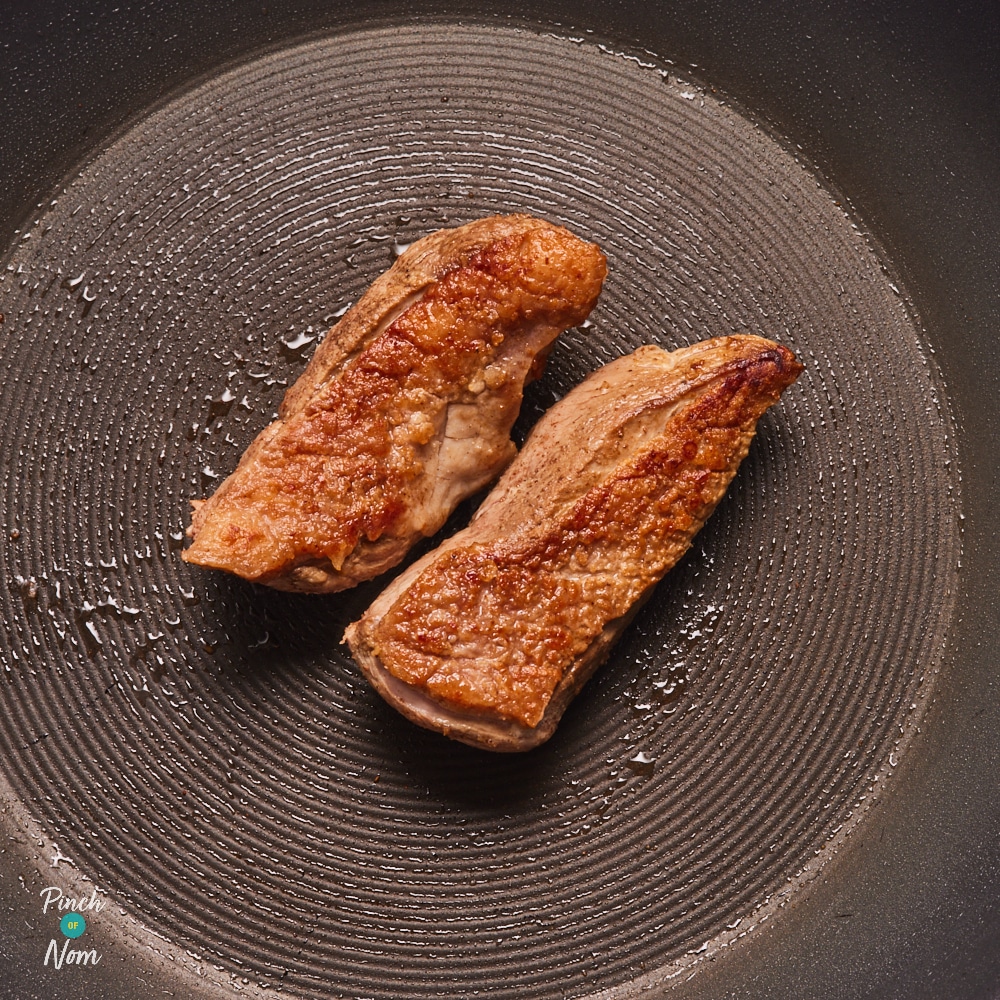
Place a small frying pan on a medium to high heat. When the frying pan is hot, add the duck breasts, skin-side down. Fry for 5 minutes until the skin is crisp and golden brown. Pour off the fat and discard.
Step 6
Turn the duck breasts over and fry for 1-2 minutes, to seal the bottom and sides of the meat.
Step 7
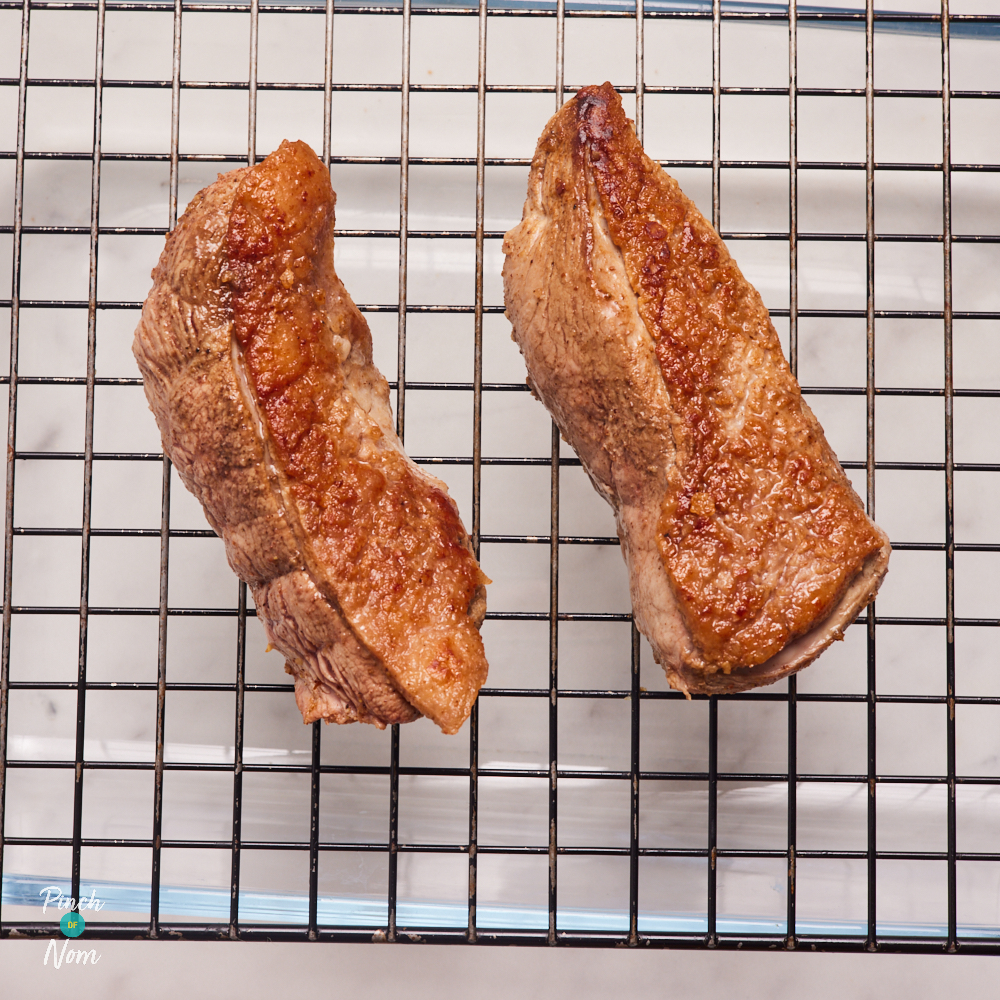
Place the duck breasts on a rack in a roasting tin or a grill pan. Place in the preheated oven for 20 minutes, turning occasionally, until the meat is cooked through, and the skin is browned and crisp.
Step 8
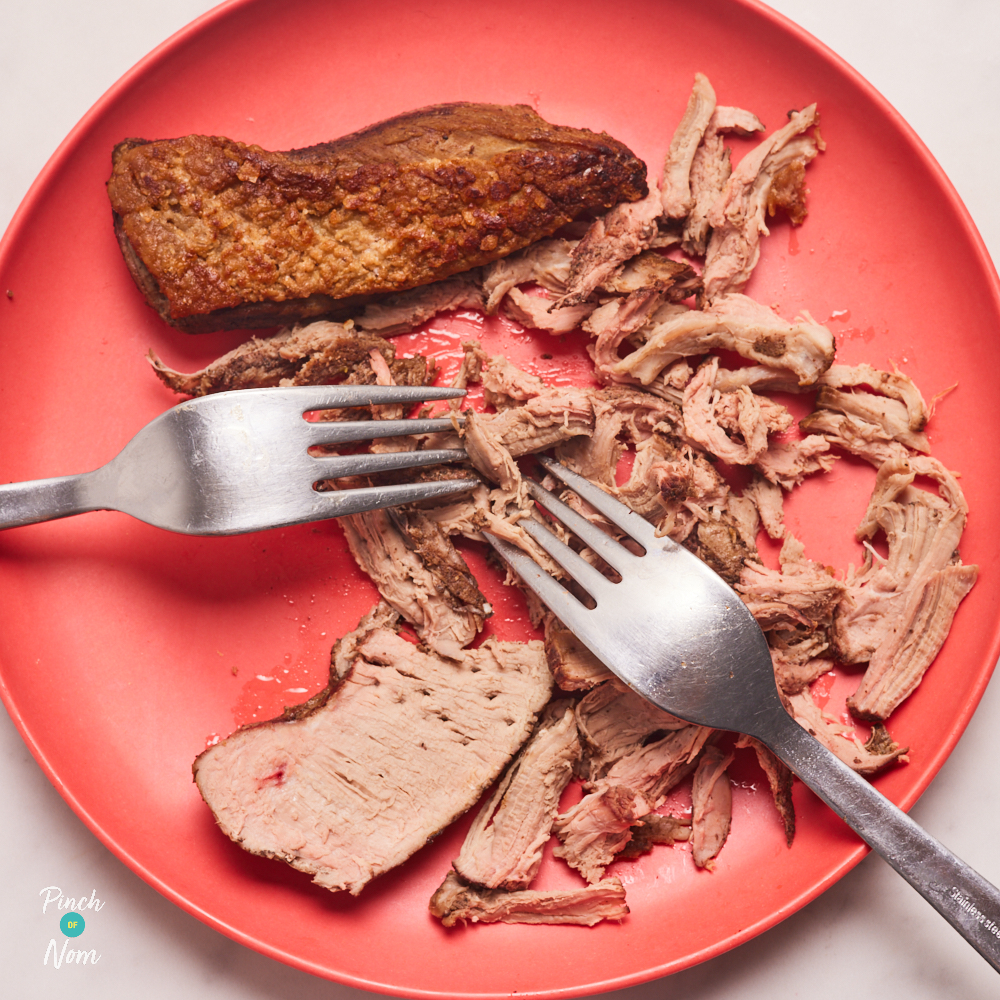
Remove from the oven and set aside to rest for 3-4 minutes. While the meat is resting, heat the Chinese-style pancakes according to the packet instructions. Using two forks, finely shred the duck meat along the grain.
Step 9
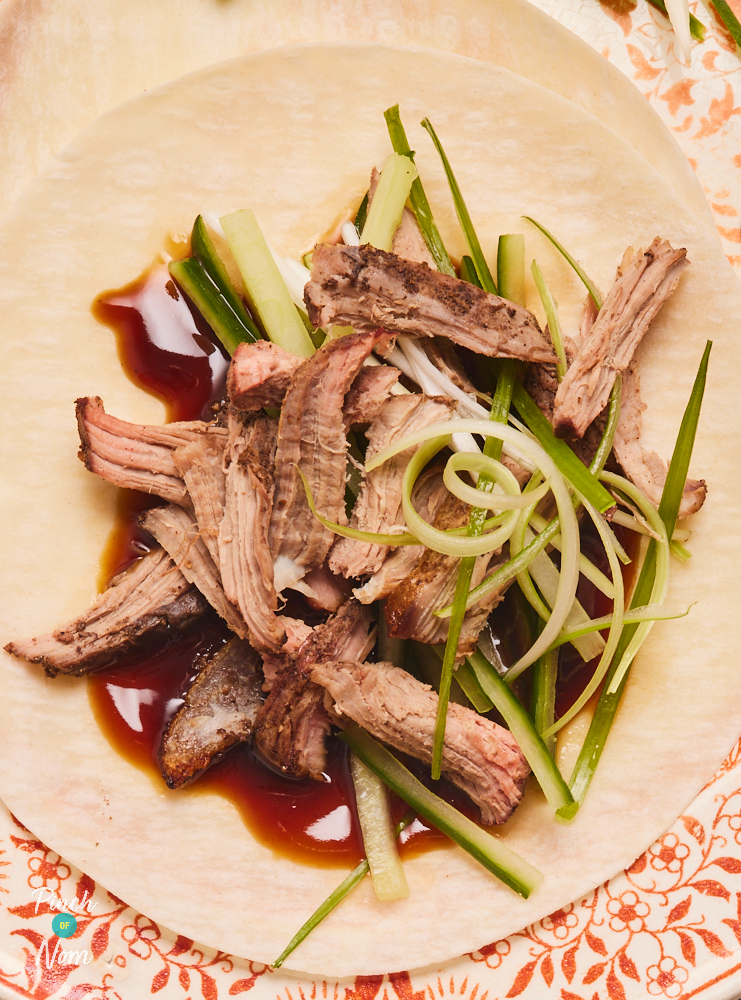
Place the pancakes on a plate and top with a little shredded duck meat, cucumber, spring onion, drizzle a teaspoonful of hoisin sauce over and roll up. Serve alone or with other accompaniments of your choice. Enjoy!
What could I serve with this Crispy Duck?
This dish will go down a treat with any other Chinese-style recipes. We like to serve it with any of the following:

How do you know when Crispy Duck is cooked?
You’ll need to cook this Crispy Duck for around 30 minutes or until the meat is cooked all the way through and the skin is crisp and brown.
Here in the UK, the standard advice is to cook food until it has reached 70°C and maintained that temperature for 2 minutes. This is to keep you and your family safe!
How long can you keep Crispy Duck in the fridge?
Once you’ve served this recipe, ideally you should eat it within 4 hours.
You can store any leftover Crispy Duck (the meat only!) in the fridge in an airtight container with a lid for 1-2 days. Make sure that you allow leftovers to cool before refrigerating, and only ever reheat food once.
Can I freeze Crispy Duck?
You can freeze the meat only. If you plan on freezing any leftover Crispy Duck, pease remember to do the following;
- Freeze it as soon as it is cold enough.
- Use a container or bag that is suitable for freezing.
Don’t forget to add a label with what it is, and on what date you put it in the freezer!
How do I reheat Crispy Duck?
From chilled: Wrap the duck in kitchen foil and reheat in the oven at 180°C for 10-15 minutes or until piping hot throughout.
From frozen: Allow to defrost overnight in the fridge and reheat from chilled.
ORDER Our NEW cookbook Slow Cooker NOW
Crispy Duck
There’s no better start to a Chinese-inspired fakeaway night than Crispy Duck pancakes! Far quicker and easier to make than you’d think, we’ve kept our version simple yet full of flavour. After just half an hour in the oven, your duck will be fall-off-the-fork shreddable and ready to roll into takeaway-style pancakes with a splash of hoisin sauce.
-
Prep Time
20 MINS
-
Cook Time
30 MINS
- KCals 177
- Carbs 9.1G
Instructions
- Preheat the oven to 200°C.
- Place the duck breasts in a medium heatproof bowl and cover with boiling water. Leave to stand for about 3 minutes. This will release some of the fat from under the skin and will help to make it crispy when cooked. Remove the duck breasts from the bowl using a large, slotted spoon and place them on a chopping board. Discard the water in the bowl.
- Use kitchen paper to pat the duck breasts all over to dry them as much as possible. Using a sharp knife, make cuts diagonally through the skin and fat, but not into the meat. Make the cuts as close together as you can. Repeat to make another set of cuts at right angles to the first set. The duck breasts should now have criss-crossed cuts all over the skin.
- Sprinkle the salt over the skin and rub into the cuts. This will help release the fat from under the skin when cooking. Turn the duck breasts over, sprinkle the meat with Chinese five-spice powder and rub over.
- Place a small frying pan on a medium to high heat. When the frying pan is hot, add the duck breasts, skin-side down. Fry for 5 minutes until the skin is crisp and golden brown. Pour off the fat and discard.
- Turn the duck breasts over and fry for 1-2 minutes, to seal the bottom and sides of the meat.
- Place the duck breasts on a rack in a roasting tin or a grill pan. Place in the preheated oven for 20 minutes, turning occasionally, until the meat is cooked through, and the skin is browned and crisp.
- Remove from the oven and set aside to rest for 3-4 minutes. While the meat is resting, heat the Chinese-style pancakes according to the packet instructions. Using two forks, finely shred the duck meat along the grain.
- Place the pancakes on a plate and top with a little shredded duck meat, cucumber, spring onion, drizzle a teaspoonful of hoisin sauce over and roll up. Serve alone or with other accompaniments of your choice. Enjoy!
Looking for Slimming World Syns or Weight Watchers (WW) Points?
With ever-changing plans and point calculations, we have made the decision to remove WW Points from the website - referring to your individual plan or advice from your consultant is always going to give the most accurate results.
—
We agreed with Slimming World to remove their trademarked terms from our website
Recipe notes
Remove the skin and fat from the duck breasts, then sprinkle each breast with a pinch of salt. Sprinkle over the Chinese five-spice powder and rub all over both sides. Place in a roasting tin and roast (uncovered) in the oven at 200°C for 25-30 minutes, turning occasionally. Leave to stand for 3-4 minutes, shred finely using two forks and serve as above.
Love this Crispy Duck recipe? Tag us in your photos!

2 comments
See what others have to say
hollywolTuesday 27th February 2024
Could you cook in an airfryer once you’ve sealed in the pan?
HollyMonday 11th March 2024
Hey, we haven’t tested this recipe using the air-fryer but we have a conversion guide HERE, which you might find helpful!
Join the conversation
Comment or ask our advice